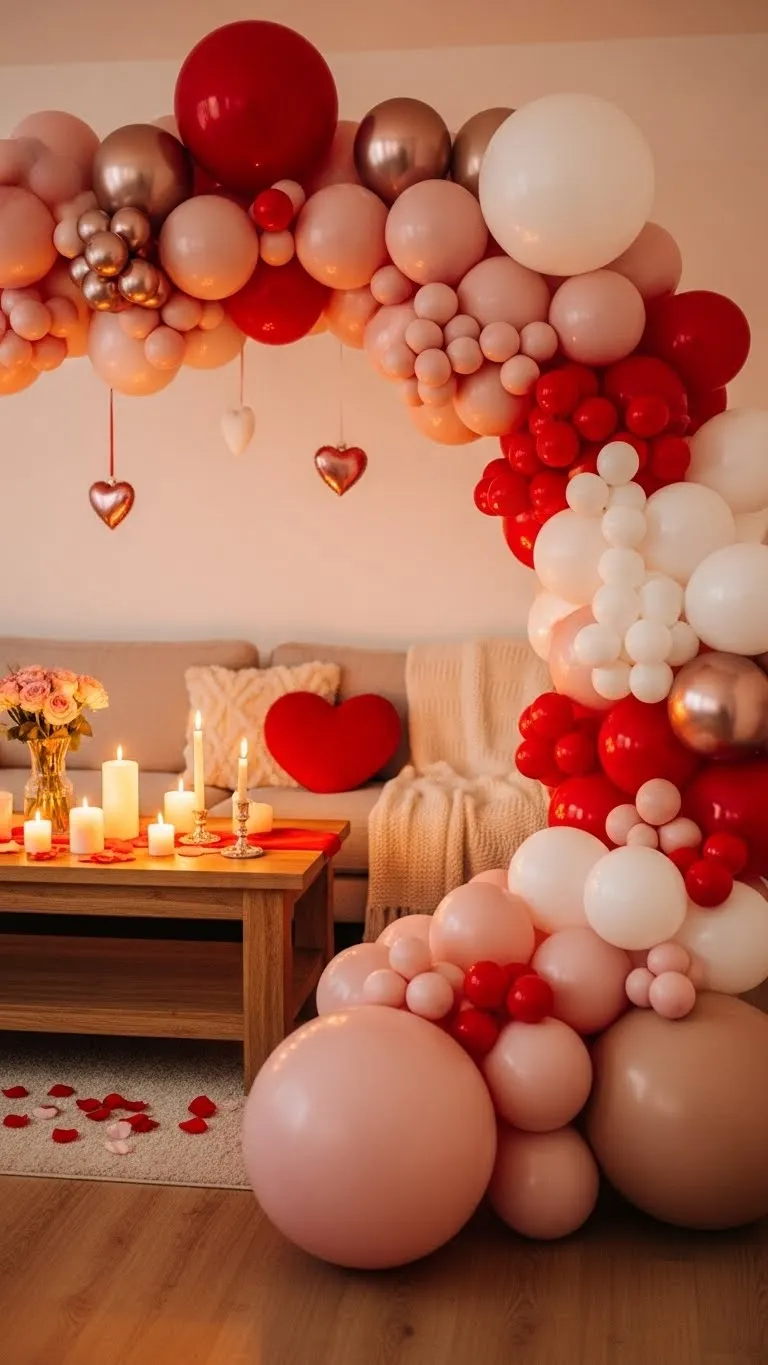
How to Make an Easy Valentine Balloon Arch

Valentine’s Day decorations don’t have to be expensive, complicated, or stressful. If you want a big visual impact with minimal effort, a balloon arch is your secret weapon. Whether you’re styling a romantic dinner, a Galentine’s party, a proposal backdrop, or a cozy photo corner at home, a Valentine balloon arch instantly sets the mood. 💕
The best part? You don’t need professional skills or fancy tools to make one. With a little planning and a few simple supplies, you can create a stunning arch in under an hour.
What You’ll Need Before You Start
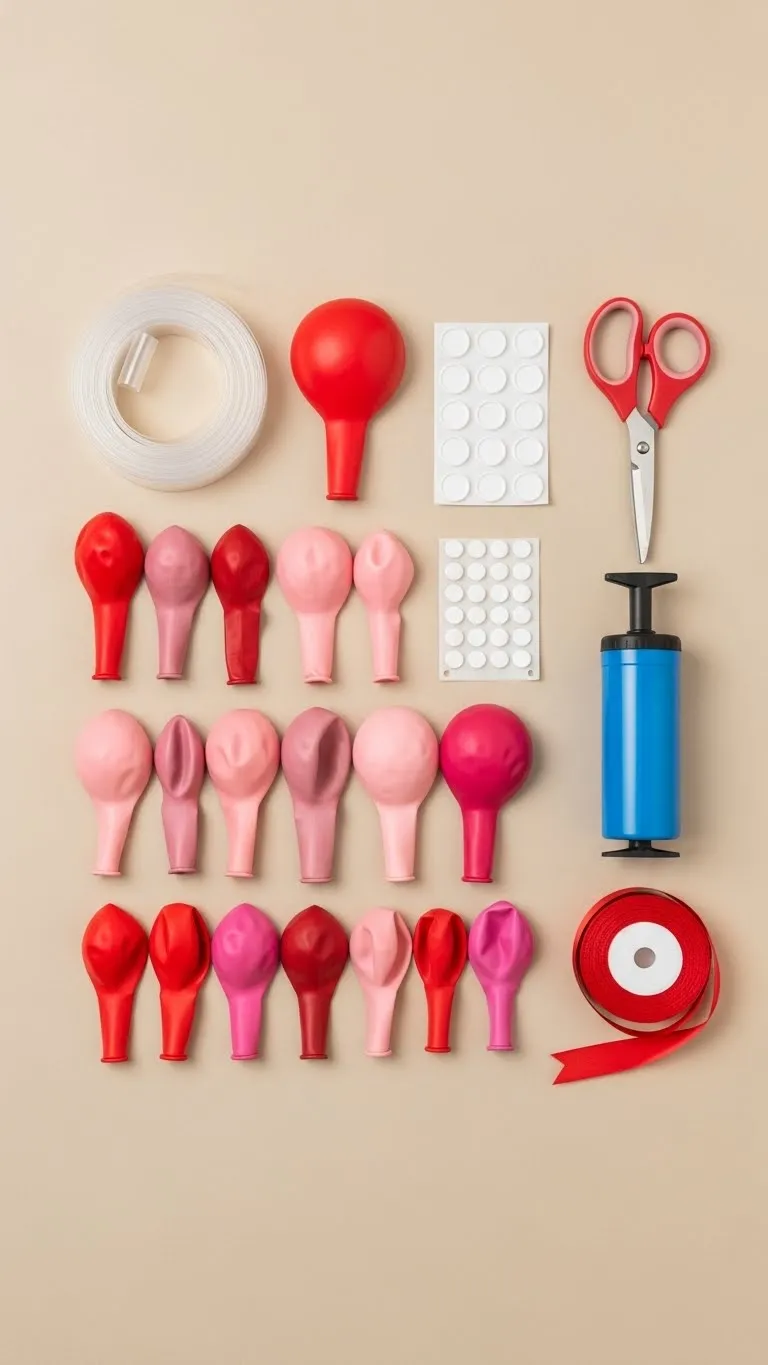
Before you begin building, gather everything in one place. This makes the process smoother and more enjoyable.
Basic supplies:
-
Balloons in Valentine colors (pink, red, white, blush, nude, or metallic)
-
Balloon decorating strip or balloon tape
-
Balloon pump (hand pump or electric)
-
Clear fishing line or command hooks
-
Glue dots or double-sided balloon tape
-
Scissors
Optional extras for a luxe look:
-
Heart-shaped balloons
-
Faux flowers or greenery
-
Ribbon or tulle
-
Small LED fairy lights
Tip: Choose balloons in different sizes (5”, 10”, and 12”) for a fuller, more organic arch.
Step 1: Choose Your Balloon Color Palette
A cohesive color palette is what makes a balloon arch look polished instead of chaotic. Valentine’s Day gives you plenty of romantic options.
Popular Valentine balloon color combos:
-
Blush pink, cream, and gold
-
Classic red, white, and pink
-
Nude, dusty rose, and soft peach
-
Pink shades with clear balloons filled with confetti
Stick to 3–4 colors for the best balance. Too many colors can overwhelm the design.
Pro tip: Matte balloons photograph better than super shiny ones, especially for Pinterest-style photos.
Step 2: Inflate and Prep Your Balloons
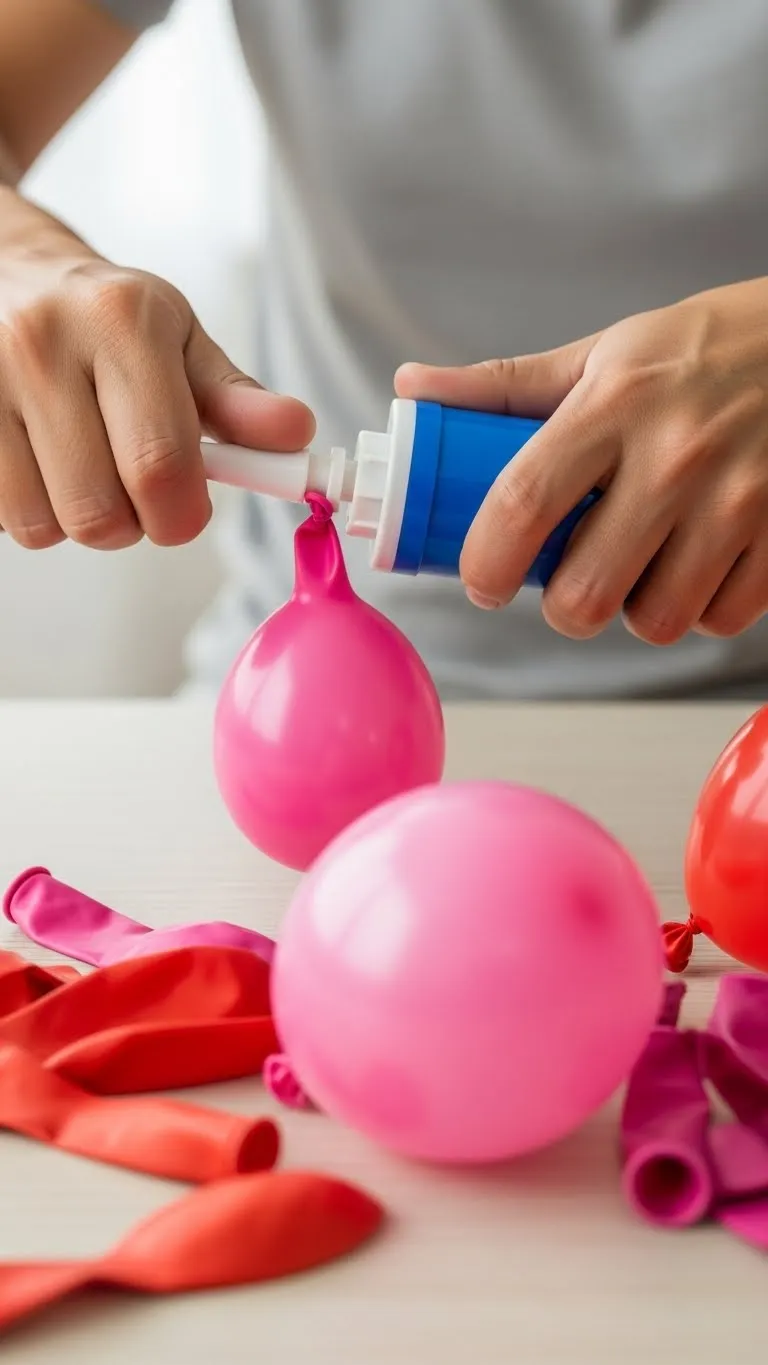
Inflating balloons may seem simple, but this step affects the final look more than you think.
How to prep properly:
-
Inflate balloons to slightly different sizes for depth
-
Avoid over-inflating to prevent popping
-
Tie balloons tightly so they don’t deflate while working
Lay inflated balloons out by size so you can grab what you need quickly when assembling.
Step 3: Build the Balloon Arch Structure
This is where everything starts to come together.
How to assemble the arch:
-
Take your balloon strip and identify the holes.
-
Insert balloon knots into the holes, alternating colors and sizes.
-
Keep spacing uneven for a natural, organic look.
-
Continue until the strip reaches your desired length.
Don’t aim for perfection. Slight randomness makes the arch look more professional and modern.
Helpful hint: Step back every few minutes to check balance and fullness.
Step 4: Shape and Secure Your Arch
Once the balloons are attached, it’s time to shape and install the arch.
Ways to hang your balloon arch:
-
Above a doorway or fireplace
-
Along a wall for a photo backdrop
-
Over a dessert or gift table
-
Framing a couch or bed for a romantic setup
Use command hooks, fishing line, or removable wall hooks to secure the ends. Gently bend and curve the strip until you get the arch shape you love.

Step 5: Fill Gaps and Add Decorative Touches
This final step takes your balloon arch from “cute” to “wow.”
Easy finishing touches:
-
Use glue dots to add mini balloons into gaps
-
Tuck in heart-shaped balloons for Valentine flair
-
Weave faux flowers or greenery between balloons
-
Wrap subtle fairy lights for evening ambiance
Keep embellishments light so the balloons remain the star.
Styling tip: Focus decorations on one side of the arch for an asymmetrical, Pinterest-worthy look.

Common Mistakes to Avoid
Even simple balloon arches can go wrong if you’re not careful. Watch out for these common issues:
-
Overcrowding the arch with too many balloons
-
Using only one balloon size
-
Skipping the balloon strip and tying balloons randomly
-
Hanging the arch too high or unevenly
Take your time, and remember: balloon arches are forgiving and easy to adjust.
Final Thoughts: Create the Moment, Not Just the Decor
An easy Valentine balloon arch isn’t just about decorating—it’s about creating a moment. Whether it’s a surprise for someone you love or a festive backdrop for photos, this simple DIY adds instant joy and romance to any space.
Now that you know how easy it is, grab your balloons, put on your favorite playlist, and start creating. Don’t forget to snap photos and share your setup—you might just inspire someone else to try it too. 💗